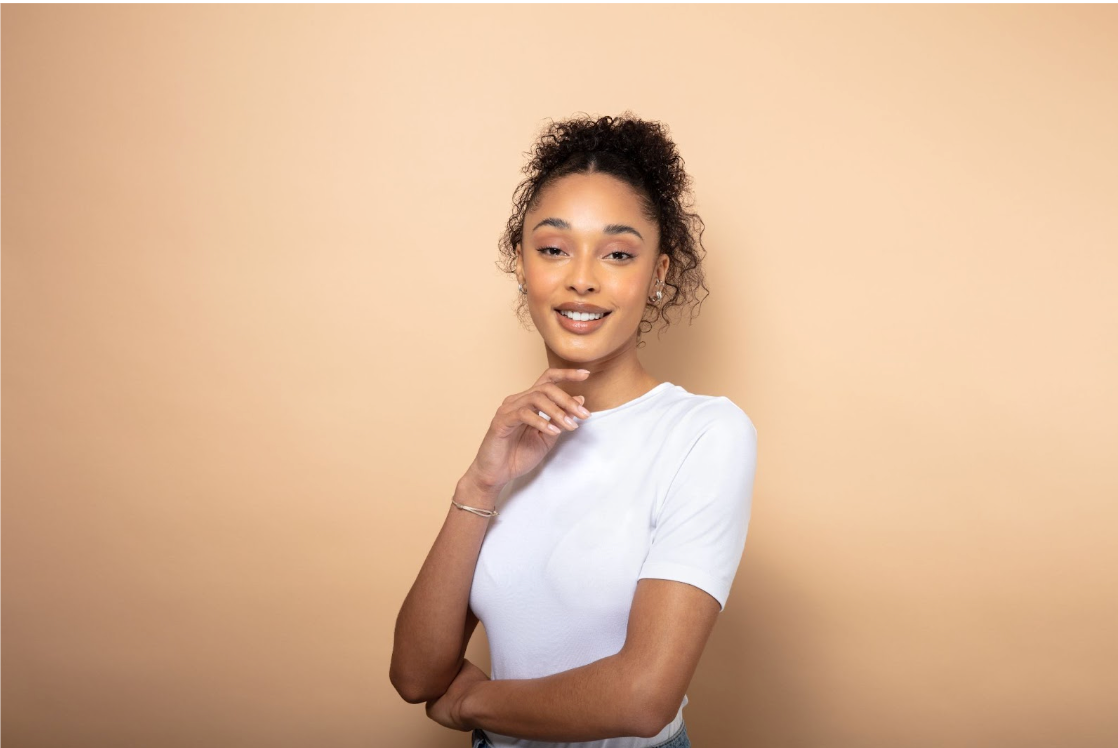
Curly hair styling offers endless possibilities for creating a variety of looks. Among the myriad of styles, the textured twist stands out as a versatile option that highlights the natural beauty of your curls while adding a touch of sophistication. Whether you're looking to style locks for a special occasion or simply want to switch up your everyday look, the textured twist is the perfect option for simple styling with maximum impact.
Meet the Expert
Anastasia Stylianou is a freelance celebrity hair stylist and textured specialist.
To recreate this look simply follow our step by step guide.
Step 1
Start by washing and conditioning your curls with your favourite curlsmith shampoo and conditioner. Then follow with a leave-in conditioner to moisturise and prime your hair before the styler. This style is best created on damp, curly hair for better manageability.
Step 2

Use a comb to create a precise middle parting to evenly balance your hair. Next, section the hair at the top into two small sections, one on each side of the middle part. Then, section the hair again by creating a horizontal part from the middle part down to the top of each ear. This step divides your hair into manageable sections for styling.
Step 3

Section the hair again by creating a horizontal part from the middle part down to the top of each ear. This step divides your hair into manageable sections for styling.
Step 4

Apply a generous amount of gel like our In Shower Style Fixer to the hair on the sides of your head to smooth it back. Use a soft brush to evenly distribute the gel, brushing the hair back towards the centre of the head. This helps in creating a sleek, smooth appearance. Make sure to brush in the direction you want the hair to lie flat, removing any bumps or stray hairs.
Step 5

Gather the two side sections you just smoothed back and tie them together at the centre of the head using a soft hair tie. Ensure the tie is secure but not too tight to avoid discomfort or tension on your scalp. This step helps to hold the side sections in place, creating a neat base for the rest of the hairstyle.
Step 6
Apply a few drops of our Bonding Oil to your hands and rub them together to warm the oil. Then, gently run your hands through your curls, focusing on the ends and any frizzy areas. The oil will help to smooth the curls and create a more workable texture, making it easier to style and twist the hair without causing frizz.
Step 7

Gather the back section of your hair upwards towards the crown of your head. Twist this section around itself to form a tight twist or bun. Secure the twist in place using a claw clip or hairpins. Ensure that the twist is tight enough to stay in place but not too tight to cause discomfort. This creates the foundational twist for the hairstyle.
Step 8

For the front two sections, apply a small amount of gel to the roots to help smooth and pull the hair back. Brush the gel through the sections to ensure a clean, sleek look. Twist each front section back towards the centre of your head and integrate them into the twisted back section. Secure these twists with hairpins, making sure they blend seamlessly with the back twist.
Step 9
Refresh and reactivate the curls at the back using a curl reactivator spray or product, such as the Moisture Memory Reactivator. Spray the product onto your curls and scrunch them with your hands to enhance their bounce and texture. This step ensures your curls look vibrant and well-defined.
Allow your hair to air dry or use a diffuser to dry the back section. If you want additional hold, you can use a light mist of hairspray to set the style. Make sure the hairspray is evenly distributed to maintain the natural movement and texture of your curls.
Styling With Curlsmith
This textured twist is perfect for both short and long curly hair, providing a sleek front to frame the face and a textured back to accentuate your curls. For more curly hairstyle inspiration, check out our guide to the best looks in our style hub.